



Red Velvet Cookies are a fun way to enjoy the familiar flavor of red velvet cake in a simple cookie form. The cocoa-infused dough creates a soft, chocolatey base, while white chocolate chunks add sweetness and a creamy contrast. The cream cheese topping gives these cookies the signature red velvet finish that makes them stand out. For another cheesecake-inspired cookie, Strawberry Cheesecake Cookies are a great addition to your baking list.
These cookies bake with a tender center, slightly crisp edges, and a beautiful red color that makes them perfect for holiday baking, celebrations, or dessert platters. The combination of cocoa, vanilla, and cream cheese creates a balanced flavor that feels familiar while still being a little different from traditional cookies.


Red Velvet Cookies Recipe
Ingredients
Equipment
Method
- In a large mixing bowl, beat the softened butter with an electric mixer until smooth and creamy.

- Add the brown sugar and continue mixing until well combined.
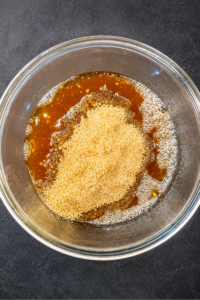
- In a separate bowl, combine the curd and vanilla extract.

- Pour the curd mixture into the butter mixture and beat until fully incorporated.

- Gradually add the all-purpose flour, cornstarch, baking soda, and salt. Mix gently until a soft cookie dough forms and no dry ingredients remain.
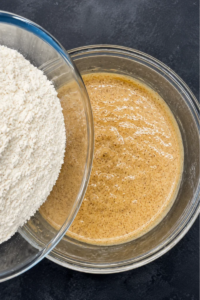
- Mix gently until a soft cookie dough forms and no dry ingredients remain.

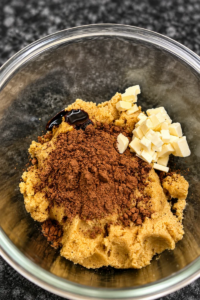
- Add the red food coloring, cocoa powder, white chocolate chunks to the dough and mix until the color is evenly distributed.
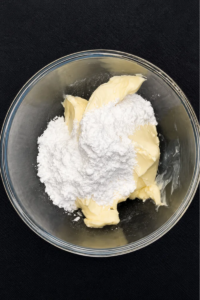
- In a separate bowl, mix the softened cream cheese and icing sugar until smooth and creamy.
- Scoop portions of dough onto a baking sheet lined with parchment paper, leaving space between each cookie.
- Add small dollops of the cream cheese mixture on top of each cookie dough portion.
- Bake at 350°F (175°C) for 10 to 12 minutes, or until the cookies are set around the edges.

- Allow the cookies to cool slightly on the baking sheet before serving.

Nutrition
Notes
- Use softened butter and cream cheese for a smoother dough and topping.
- Avoid overmixing the dough after adding flour to keep the cookies soft.
- Chill the cream cheese topping slightly if it becomes too soft to place on the cookies.
- Store leftover cookies in an airtight container in the refrigerator for up to 4 days.
Tried this recipe?
Let us know how it was!Cook with Me !
These Red Velvet Cookies are a lovely option when you want a dessert that looks impressive without requiring complicated decorating. The recipe can be adapted with different chocolate additions or toppings to create new variations while keeping the classic red velvet flavor. They are a fun cookie to make for special moments, gifting, or simply adding something different to your usual baking routine.

I’ve always found joy in the kitchen. Since I was seven, cooking has been my favorite way to learn, create, and unwind. From baking sweet treats to exploring global flavors and brewing coffee, I’m always chasing my next delicious discovery.